Kali Linux & WSL2 (quick guide)
🇬🇧 Kali Linux & WSL2 with Windows 11 (quick guide)
Microsoft Windows Subsystem for Linux (WSL) allow us to run some Linux distributions on top of Hyper-V.
Kali Linux is a distribution that needs no introduction, it is a Linux distribution designed for digital forensics and penetration testing. It is maintained and funded by Offensive Security. Kali Linux is based on the Debian Testing branch: most of the packages used by Kali are imported from Debian repositories.
Here are some quick steps I followed to install Kali Linux on Windows 11.
1. Open Terminal Windows as administrator
With cmd :
Win + R and type wt , then type Ctrl + Shift + Enter
and run on your Terminal Windows :
dism.exe /online /enable-feature /featurename:VirtualMachinePlatform /all /norestart
dism.exe /online /enable-feature /featurename:Microsoft-Windows-Subsystem-Linux /all
2. Restart when prompt
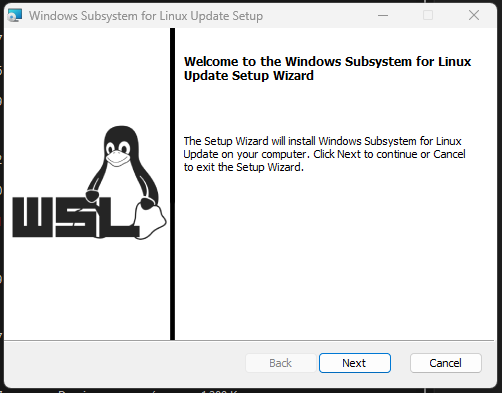
3. Install the WSL 2 Linux Kernel
Download from here: https://aka.ms/wsl2kernel
4. Restart
5. Open a command prompt and run:
wsl --set-default-version 2
This command set wsl2 as default. Comparing WSL Versions https://learn.microsoft.com/en-us/windows/wsl/compare-versions

6. Install from the Microsoft Store
Install from the Microsoft Store: Kali Linux NOTE: If there is an existing Kali WSL 1, upgrade it by running:
wsl --set-version kali-linux 2

Run kali to finish the initial setup of creating a new user.

7. Have some problems ?
WSL2 runs with Hyper-V so you need to install-it.
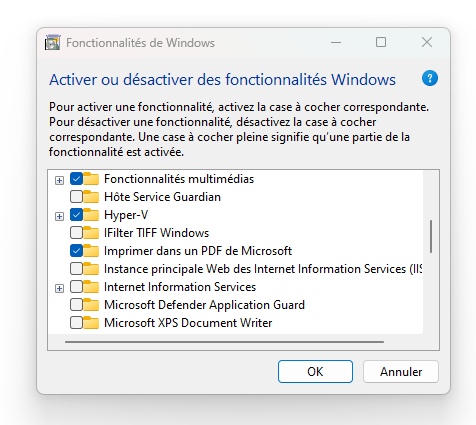
After Hyper-V install this works fine… otherwise check here
You got a system with minimum install, check kali documentation here
8. Going to the GUI
Win-KeX provides a GUI desktop experience for Kali Linux in Windows Subsystem for Linux (WSL 2) with the following features:
- Window mode: start a Kali Linux desktop in a dedicated window
- Seamless mode: share the Windows desktop between Windows and Kali application and menus
- Enhanced session mode: Similar to Hyper-V, uses RDP for a more feature rich experience
- Sound support
- Shared clipboard for cut and paste support between Kali Linux and Windows
- Root & unprivileged session support
- Multi-session support: root window & non-privileged window & seamless sessions concurrently
- Fully compatible with WSLg
9. Install Win-KeX
Inside of Kali WSL, install Win-KeX via:
kali@kali:~$ sudo apt update
kali@kali:~$
kali@kali:~$ sudo apt install -y kali-win-kex # More than 600 packages ! so you can take a nice pizza
To start Win-KeX in Window mode with sound support, run either:
- Inside of Kali WSL:
kex --win -s - On Window’s command prompt:
wsl -d kali-linux kex --win -s

TADA !!!
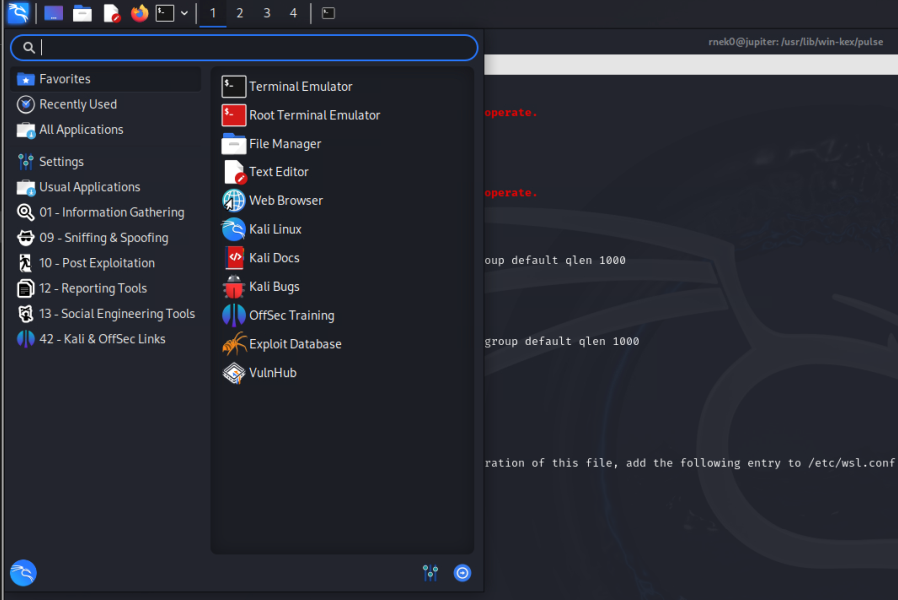
We need to perform some extra steps to finish the installation. Because we get this error : “System has not been booted with systemd as init system (PID 1)”
As you can see the network is not enabled. NetworkManager is disabled, so Ctrl + Alt + T to open a terminal and check systemd status
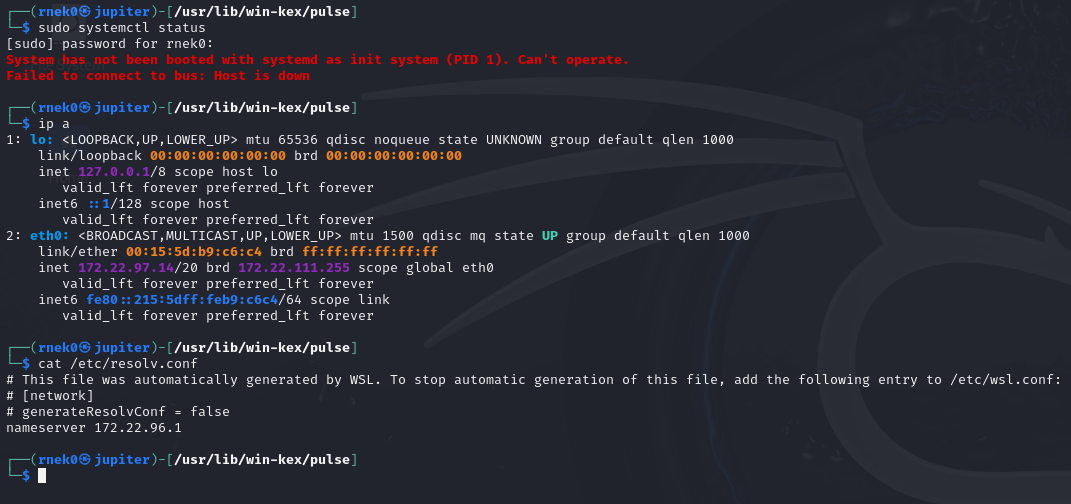
10. How can you get systemd on your machine?
Ensuring you are on the right WSL version
wsl --version
Set the systemd flag set in your WSL distro settings
You will need to edit the wsl.conf file to ensure systemd starts up on boot.
Add these lines to the /etc/wsl.conf (note you will need to run your editor with sudo privileges, e.g: sudo nano /etc/wsl.conf):
[boot]
systemd=true
Close your WSL distro Windows and run wsl.exe --shutdown from PowerShell to restart your WSL instances
More explanations on this page (Thanks to Craig Loewen for his post.)
11. Stop wsl kali and restart it
Commands:
$ wsl --list --verbose
$ wsl -t kali-linux
$ wsl --list --verbose
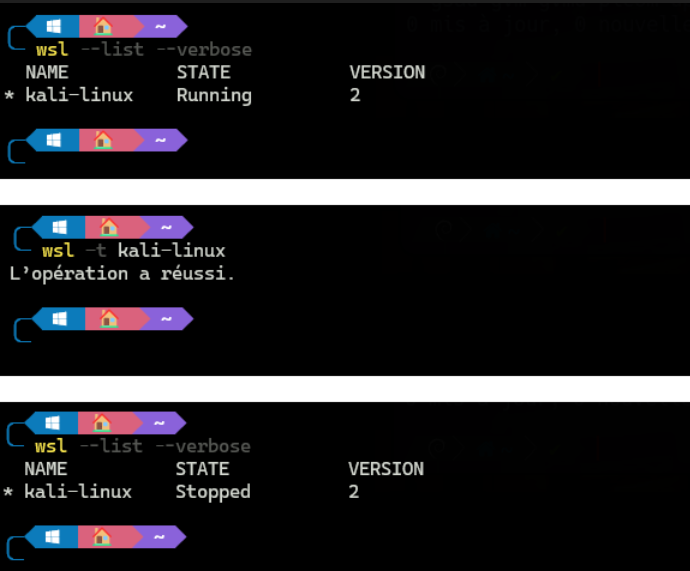
After restarting Kali Linux systemd will be operational.
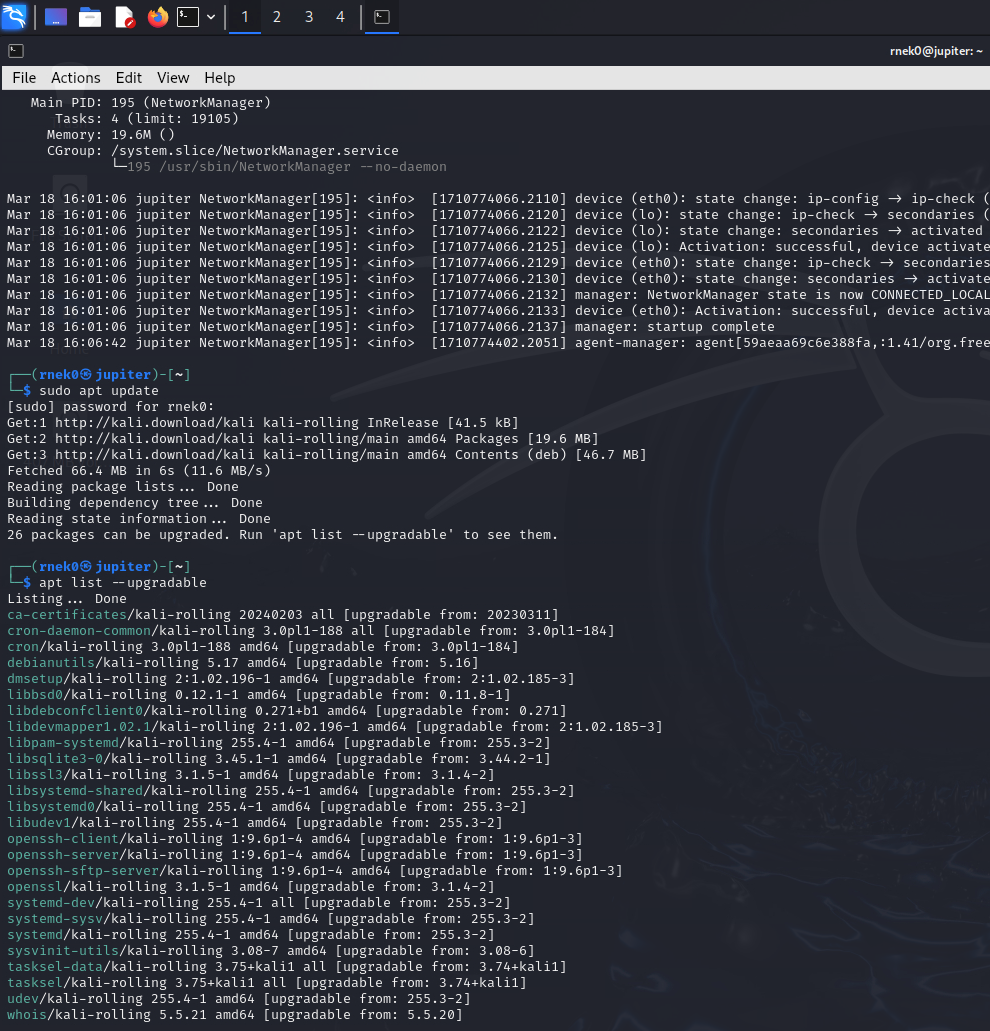
12. Configure your Kali Linux
Kali Linux is a Rolling distribution, check for updates and go to Tools page : https://www.kali.org/tools/

Windows Subsystem for Linux also allows you to install other distributions, you will find them in the store.

Happy Hacking !